I’m doing this instructional piece to document my experiments on creating the ‘best’ DIY dip pen reservoir. The best meaning – it can hold a lot of ink and at the same time, easier to create and maintain.
I only had pictures as reference from the different fountain pen forums when I looked up “wire reservoirs for dip pens”. There were no instructions – it’s like as if you should already ‘learn’ by just looking at a single picture. It wasn’t as easy as it looked.
I learned that if you placed the coil in different areas of the nib – it made the ink flow differently. It either fell on your paper as a big blot or in trickles. I also learned that different wires will hold different volume of ink.
I experimented with two different kinds of wires – the thicker aluminium kind [gauge 21mm] and the thinner copper kind [gauge 24], both used for crafts and accessories. Both had different results. It was the thinner, more pliable copper wire that gave the best ink flow.
I guess it is because if you used a thinner wire, you create more coils therefore creating more spaces the ink can ‘hold onto’.
Now on with it.
These are the stuff I used [plus nail clippers to cut the wire]. Wire, craft pliers and masking tape [leaves less residue on the holder compared to clear tape, duck tape and 3M’s ‘magic tape’]

Cut 12 inches worth of wire then fold it in half.

Grip the tip with the craft pliers and start coiling around it.
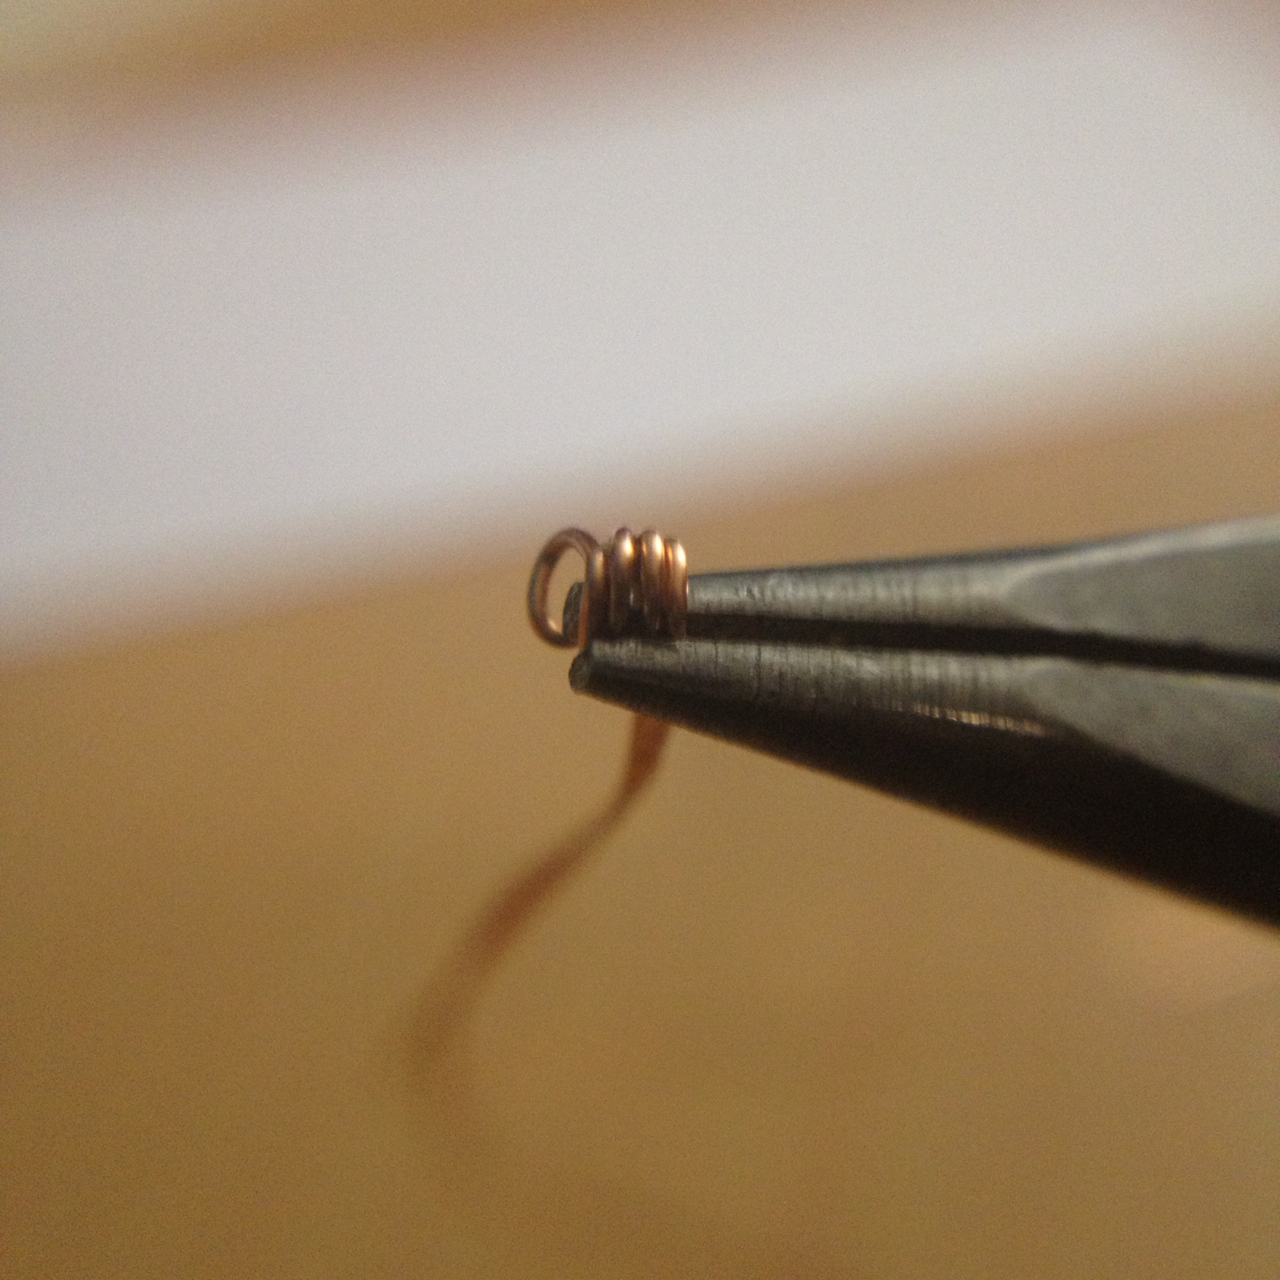
Don’t leave spaces – coil it tightly till it’s a centimeter in length.

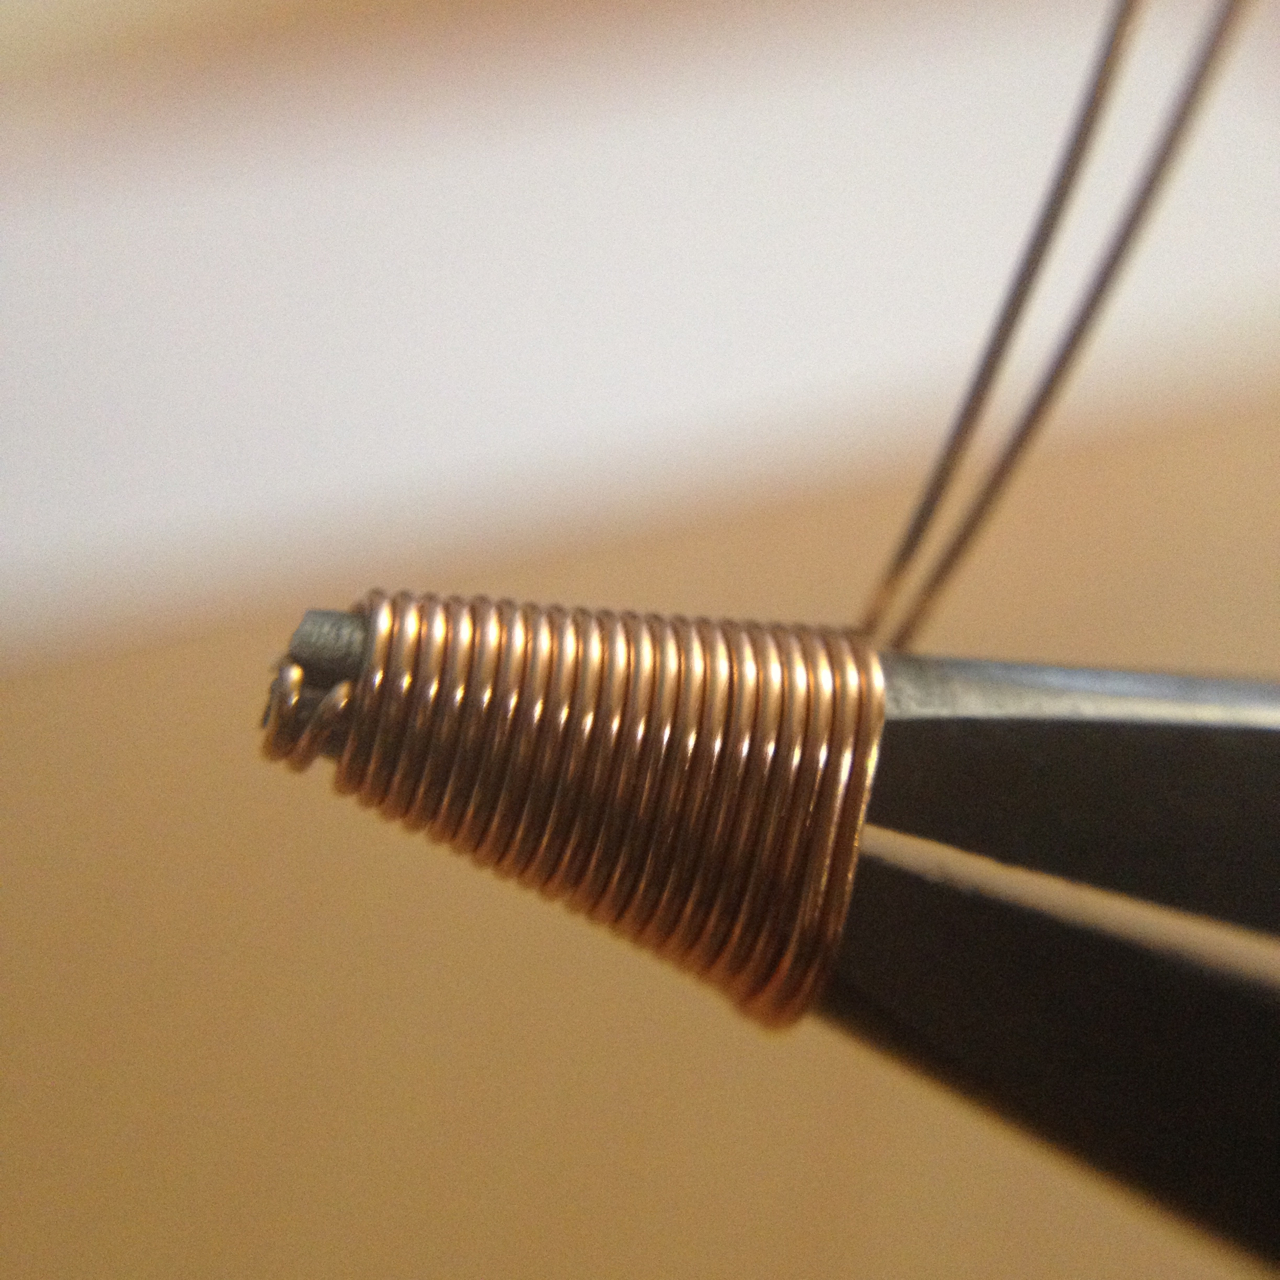
Once you’re done, slide it out of the pliers and bend the remaining wires into a 90 degree angle. It should look something like this.

Make sure your nib is securely placed in its holder. You will use that to ‘measure’ the allowance you will need to give. The reason why you have to do this is because each nib has different lengths…
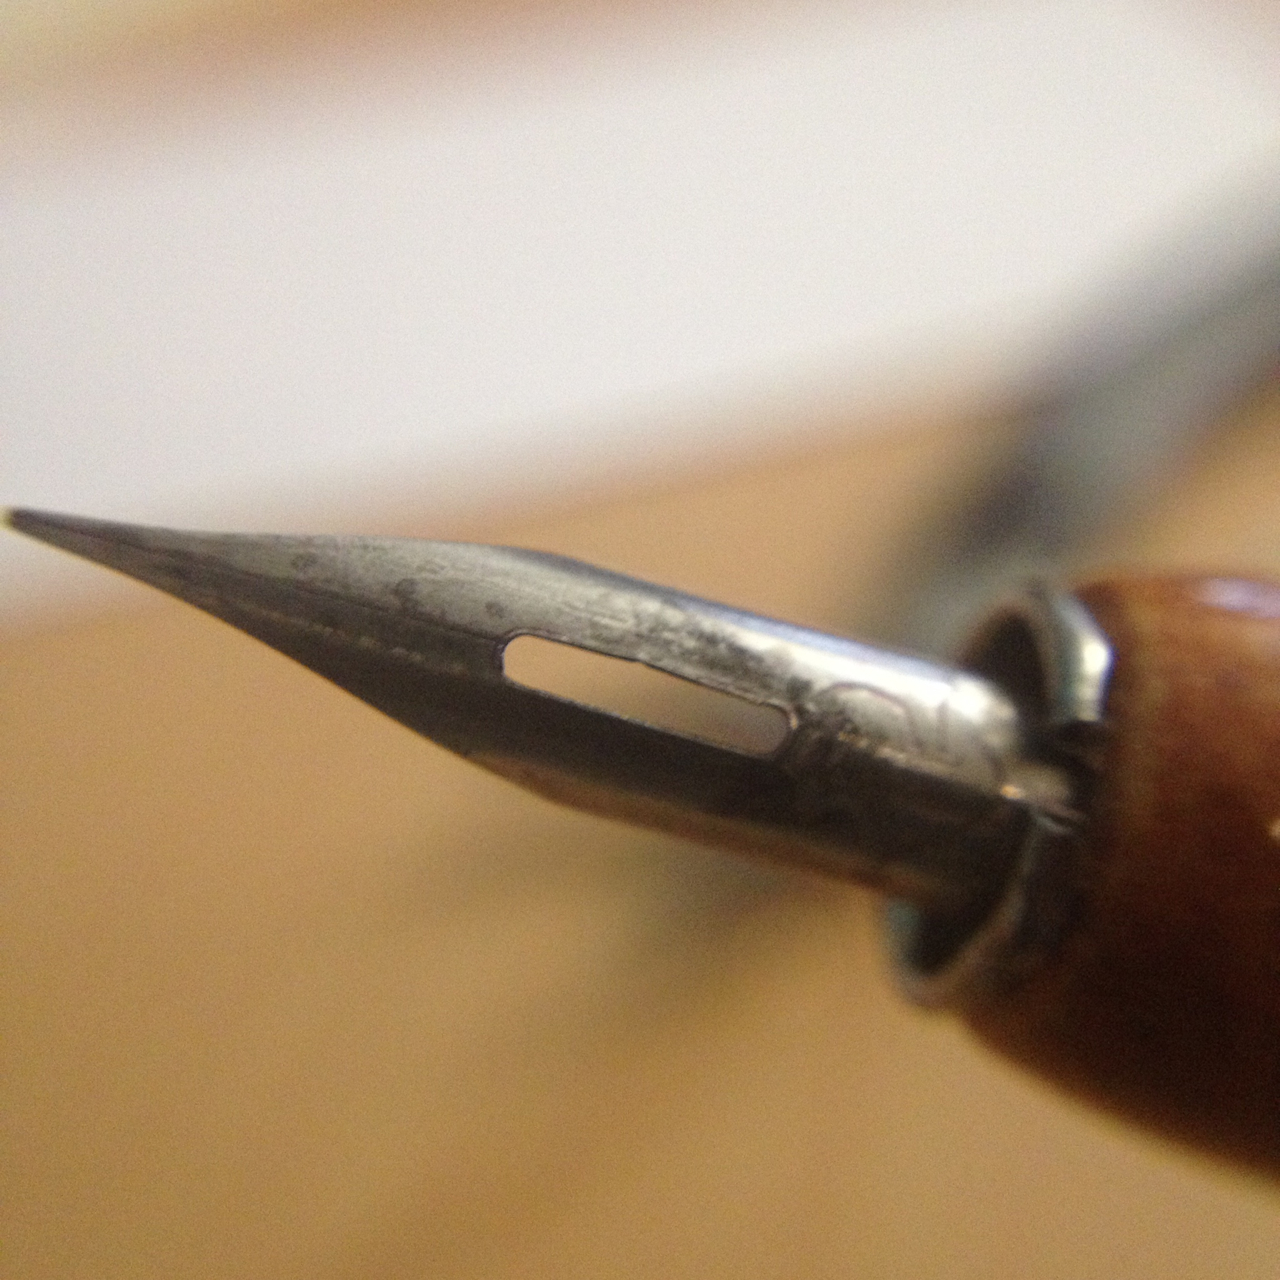
…and the “cone” has to be over the slit and should not completely cover the vent hole (that’s a mistake a did a few “wires” earlier).

It should also be short enough not to interfere with the tines when they flex.

I twisted the rest of the wire over the handle so that the tape would have something to grab onto.
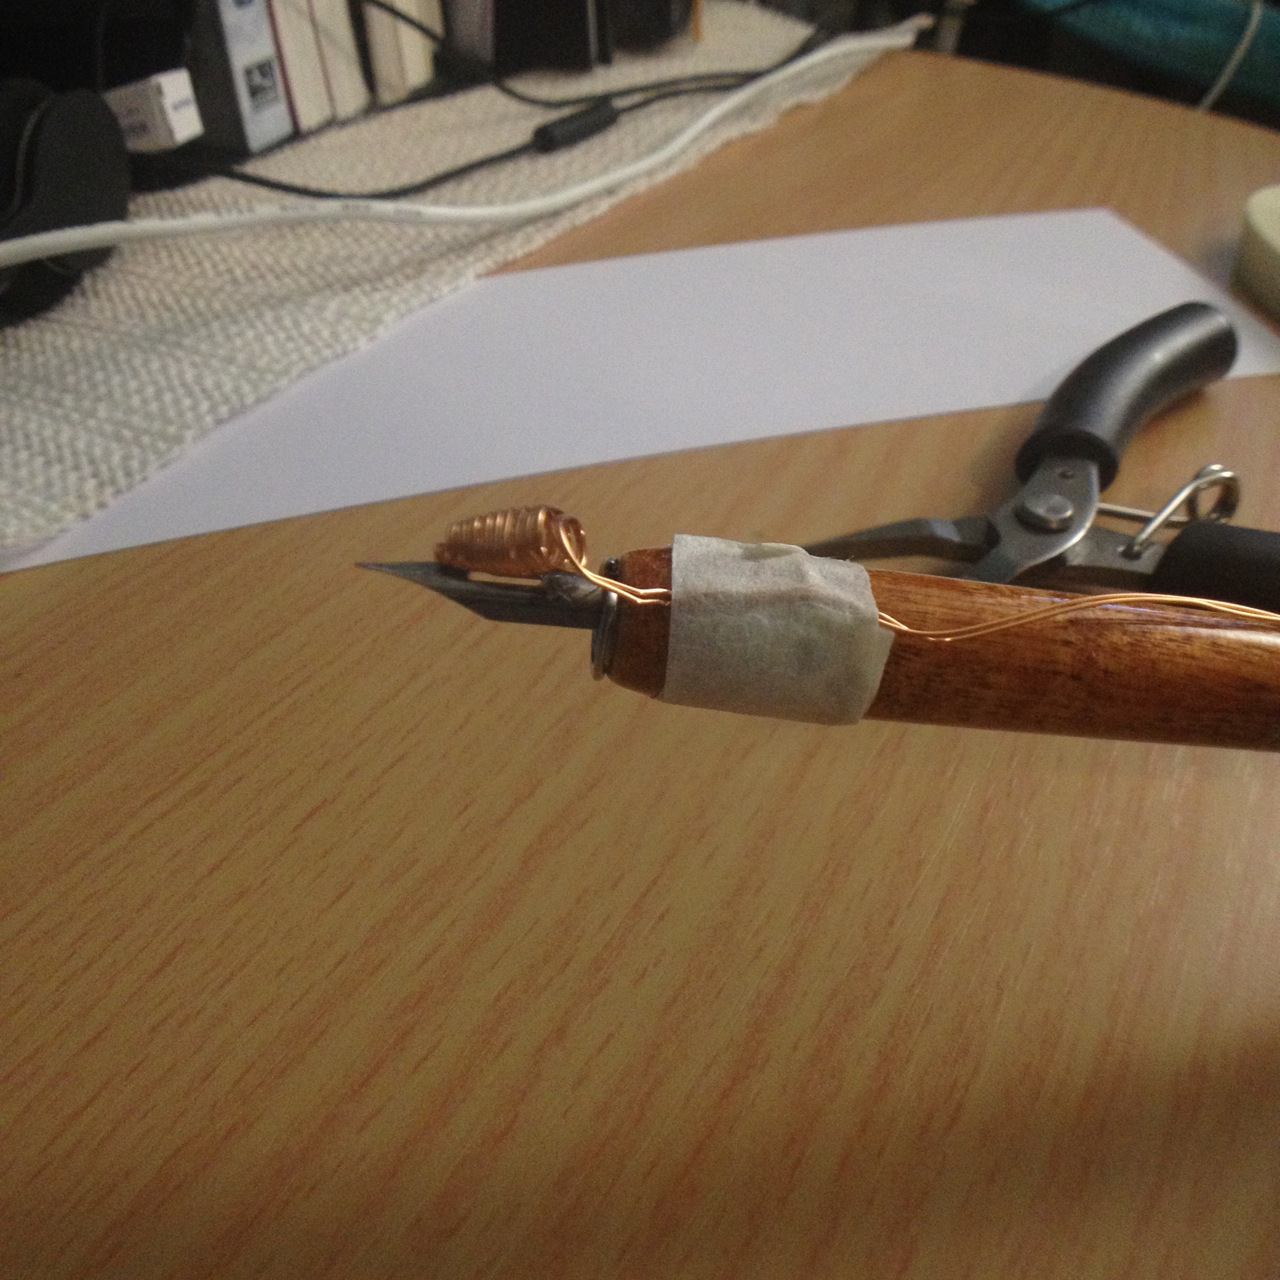
When I was done, the coil was slightly above the nib. That’s ok. All I had to do was press down gently till it touched the slit.

How will you know you’re doing it right?
This is wrong.
Only the cone’s tip is touching the slit. It will hold ink but it won’t flow into the nib (yep…made that mistake).


With the wire positioned this way, this was what I was able to do: [not much]
This is correct.
The entire coil should rest gently on top of the nib [not pushing it down – although it can’t do that because the wire’s too soft].. but not covering the vent completely.


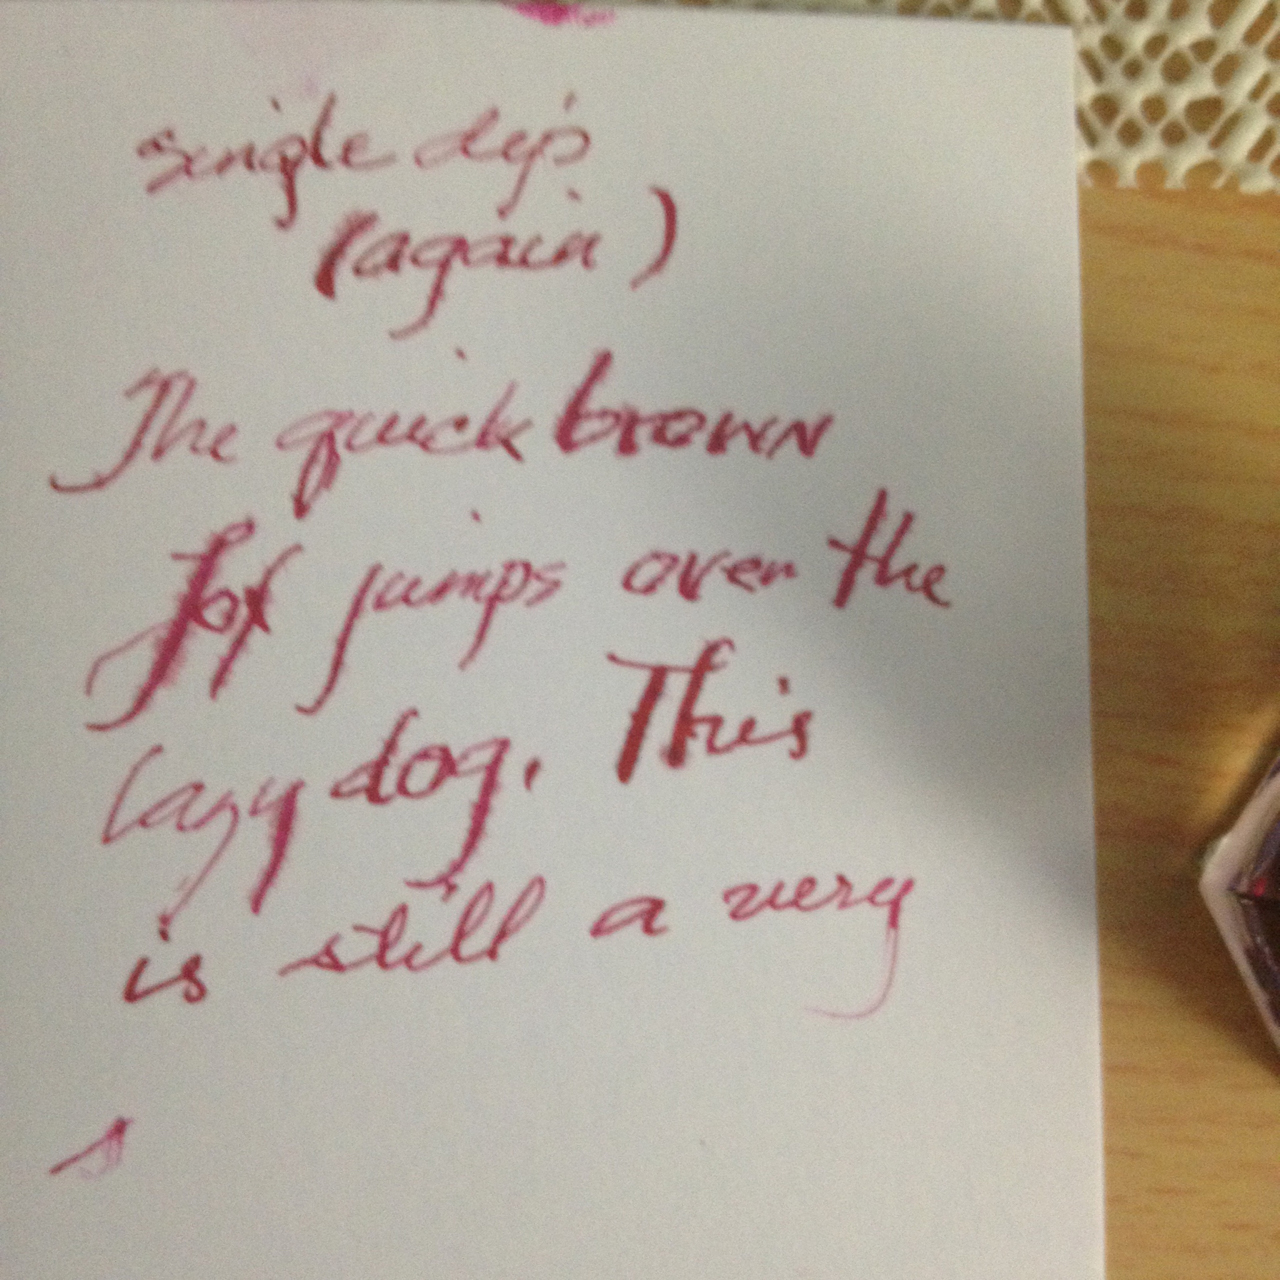
With this position, I was able to write this much (forgive the handwriting – I just bought the pen recently and have been unable to play with it properly):

Too much ink will also cause it to over flow and you will get a huge blob on your paper. So to make sure I do not over dip the pen, I placed the ink in a separate bottle. This way, I do not get to contaminate the main ink bottle too. For this one, I used an eyeshadow mineral pot. 🙂